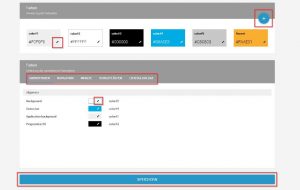
Under the menu item “Color scheme” you will find the most important color design settings to significantly influence the appearance of the Mobile App.
Here you can set the color for many areas, fonts, buttons and dialogs throughout the app.
This setting works in such a way that you first define your individual color palette (step 1). You can then use the colors of your color palette for each element (step 2).

Color settings
Step 1 – Define individual color palette
To add a new color, click on the “+” symbol.

Add new color
You can now name the color individually, select the coarse color range and the exact color, and set the transparency. If you have a corporate design style guide in your company and defined exact color values there, you should use the respective RGBa or HEX values. Save the new color with “Assign”.
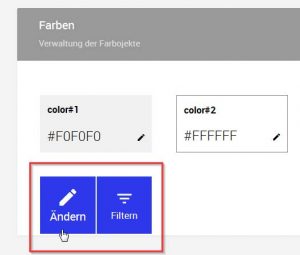
To change an existing color, move the cursor over the respective color and then select “Edit”. Then the color editor opens and you can edit the color.
Tip: Transparencies can also be changed directly in the input field. Values from 0 to 1 are allowed, and 1, that is, 100% coverage, is set by default.

Edit color
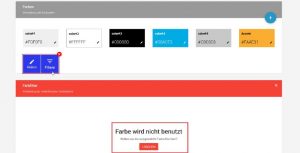
To check where a color is used, move the cursor over the corresponding color and then select “Filter”. Below the color palette the color filter opens, which shows you where the respective color is used.
You can also delete colors from the color palette, but only those that are not used any more. To delete, select “Filter” again and, if necessary, replace the color to be deleted in all relevant places. You can then delete the color from the color palette.

Delete color
Step 2 – Use colors:
To use colors from the previously defined color palette, first select the category in which you want to edit a color object.

Categories of color objects
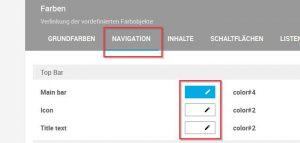
Once you have selected a category (e.g. “Navigation”), you can select the respective color objects and assign a color from the color palette to each one individually. To do this, click in the current color range with the pencil symbol. Then select a color and confirm the process with “Save”.

Color objects, example navigation

